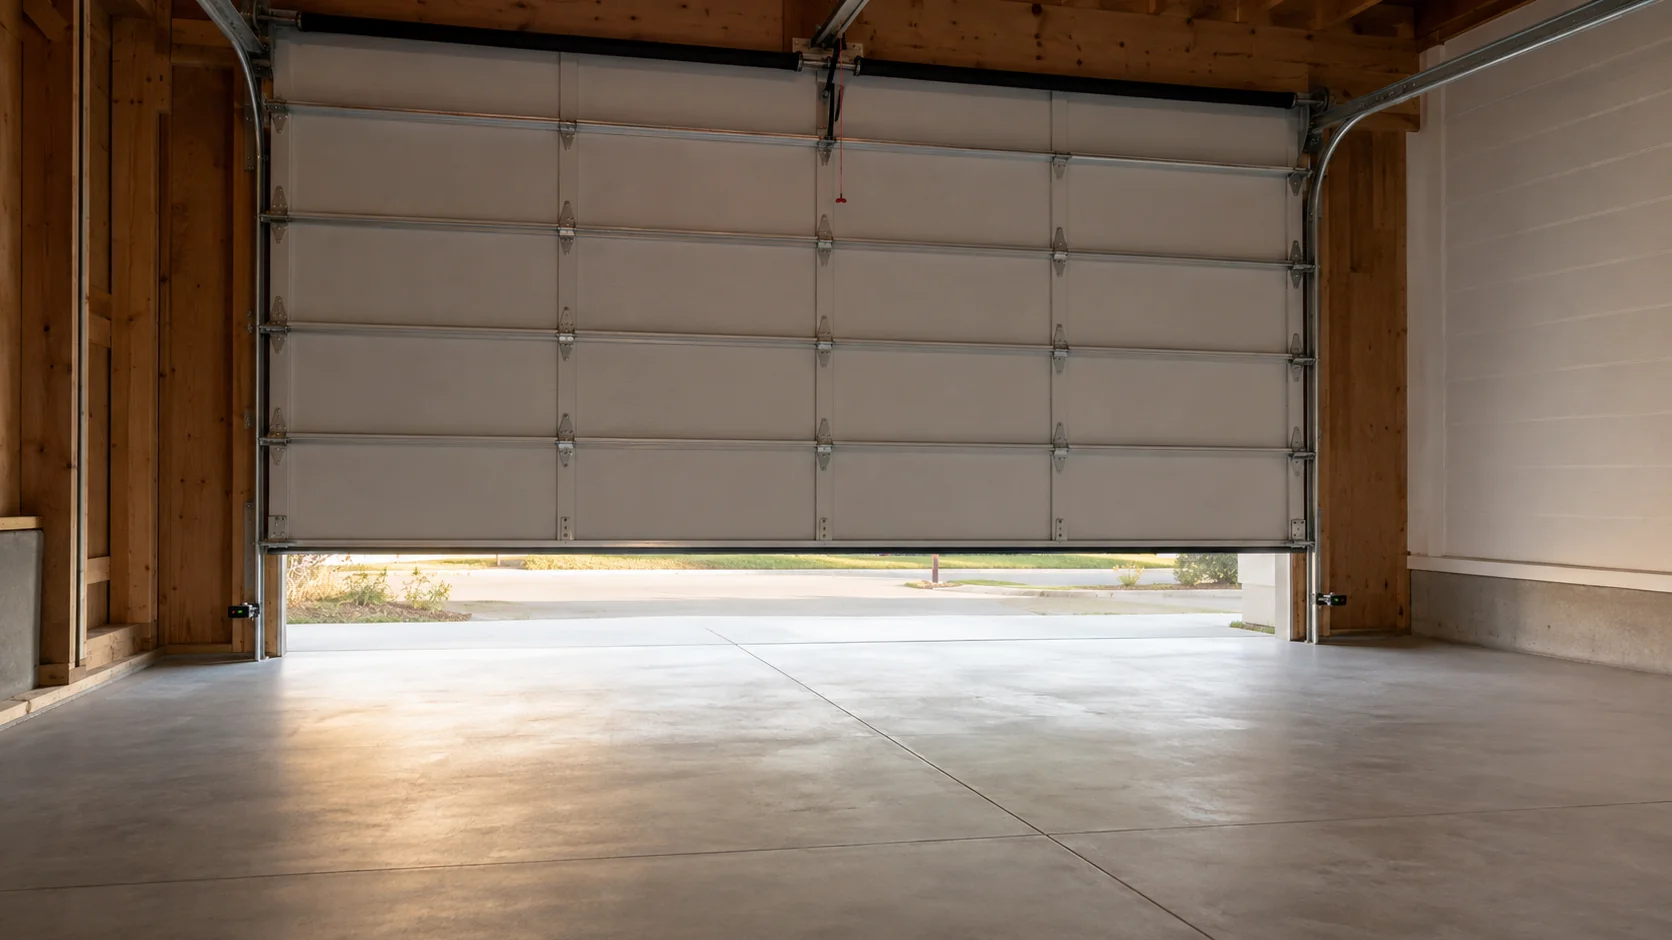
Garage door closes then opens back up? Watch the bottom edge during one closing cycle from inside the garage, with the opening clear and the moving door in full view. If it reverses before reaching the floor, check the sensor path and visible drag; if it touches the floor and then reverses, look up the exact opener model’s down-travel instructions or call a garage-door technician.
Don’t defeat the reverse system. The point where the door changes direction is the useful clue.
Why the opener sends the door back up
A reversing door is responding to a safety input, unexpected resistance, or a travel setting that no longer matches the closed position. That doesn’t identify the failed part by itself. It tells you the opener decided that continuing to push down wasn’t safe.
The distinction matters because a photo-eye problem and an excessive down-travel setting can produce similar complaints at the wall button. They usually happen at different points in the door’s path. Watching that path once is more useful than cleaning every component or turning an unlabeled screw.
The U.S. Consumer Product Safety Commission says automatic residential garage-door operators must comply with 16 CFR Part 1211, the federal safety standard for entrapment protection. In practical terms, reversal isn’t a feature to bypass so the garage can be locked tonight. It’s the warning that needs a cause.
Keep children, pets, vehicles, and your own body out of the opening while you observe the door. If a cable is loose, a spring has a visible gap, or one side of the door hangs lower, don’t run another test.
Watch where the garage door closes then opens back up
Stand where you can see the whole opening and operate the wall control once. Note the first moment the direction changes, any opener-light flashes, and whether the bottom seal actually touches the floor. Don’t reach toward a moving panel or sensor.
| Where it reverses | Best first clue | Next move |
|---|---|---|
| Within the first few inches | The opener may be losing the photo-eye signal or detecting an immediate obstruction | Clear the opening, inspect both sensor lenses and brackets, then read the model’s indicator-light code |
| At the same point above the floor | The door may meet physical resistance or the opener may report a model-specific fault | Watch for a crooked panel, rubbing track, damaged roller, or loose cable; stop if any appear |
| Only after touching the floor | Down travel may extend past the true closed position, or the floor and seal may add resistance | Clear the threshold and use the exact model manual before changing travel |
| After it closed and stayed down | This may be a remote, wall control, keypad, or automation command rather than safety reversal | Isolate controls and app rules as a separate problem |
The fourth row is easy to mix into the same search. If the door remained closed for several seconds or minutes before opening, start with controls and automations instead. The smart home troubleshooting guide shows how to separate a physical load from an app or network command.
Check five things in this order
- Record the reversal point. A short video from a safe position can capture the bottom edge, sensor indicator lights, and opener lights in the same cycle.
- Clear the doorway and threshold. Remove anything in the door’s path. Check for debris, ice, or a folded section of bottom seal where the door meets the floor. Don’t kneel under a partially open door to do it.
- Look at both photo eyes. Make sure nothing blocks the line between them, wipe dusty lenses with a soft dry cloth, and check whether a bracket was visibly bumped. Indicator colors and blink patterns vary, so match them to the opener’s model number rather than a generic video.
- Watch the panels and tracks. From outside the opening, look for one side lagging, a roller leaving its track, bent metal, or a loose cable. These signs move the job out of homeowner troubleshooting. Springs, cables, drums, and bottom brackets store or carry enough force to cause severe injury.
- Read the model-specific travel instructions. Find the model number on the opener housing and use the manufacturer’s manual. A screw-adjusted opener and a programmed electronic opener don’t share one safe sequence. After any travel or force adjustment, the safety reversal system must be tested again.
That order prevents a common mistake: buying sensors before proving the sensor path failed. It also prevents the more serious mistake of increasing closing force until the opener ignores real resistance.
“It closes fully then reopens again. This requires me to reset the travel distance.” — a homeowner’s symptom report
The valuable part of that report is “closes fully.” It moves the first check away from a beam interrupted halfway down and toward floor contact, door condition, and the opener’s closed-position setting. It doesn’t prove the setting is wrong, but it narrows the branch.
The floor-touch clue most guides bury
Chamberlain’s official article on a door that hits the floor and reverses lists too much down travel, a problem with the door, and, less commonly, a logic-board fault. The manufacturer also says to test the safety reversal system after changing down travel.
That sequence changes the purchase decision. A new pair of safety sensors isn’t the sensible first order when the door reaches the floor normally and only then reverses. First inspect the threshold and bottom seal, identify the opener model, and decide whether the manual provides a travel procedure you can follow exactly.
If the manual’s directions aren’t clear, stop. Paying for diagnosis is cheaper than masking resistance with extra force or ordering a board that the manufacturer’s own list calls a rare cause.
Before buying any replacement part, write down the opener brand, complete model number, approximate door age, and the exact reversal point. Use the same model-first habit described in the home installation guide: identify what you have before comparing what might fit.
When the safe answer is a technician
Stop operating the door if it is crooked, drops, jerks, scrapes hard, has a loose cable, or shows a broken or separated spring. Don’t loosen brackets or touch torsion springs, cables, or drums. Those aren’t diagnostic adjustments.
Call a technician if the same mid-travel reversal remains after the opening and sensor path are clear, or if the model reports an internal fault.
Once the original problem is corrected, test the reverse function according to the owner’s manual. The CPSC safety guidance uses a 2-by-4 laid flat in the door’s path and says an opener that fails to reverse should be disengaged until it is adjusted, repaired, or replaced. The agency also recommends inspecting the door and opener every 30 days.
Do one thing now: with everyone clear and no visible cable, spring, or track damage, watch a single close cycle and write down whether the garage door closes then opens back up before the floor or only after contact. That one observation tells you which page of the manual—or which sentence to the technician—you need next.

Bolt & Bulb covers what goes wrong after the unboxing: devices that drop off Wi-Fi, dimmers that flicker with LED bulbs, locks that will not fit a rental door. The site draws on manufacturer documentation, platform support pages and release notes, and attributed owner reports in public forums.